SOLUS
KNOWLEDGE CENTER

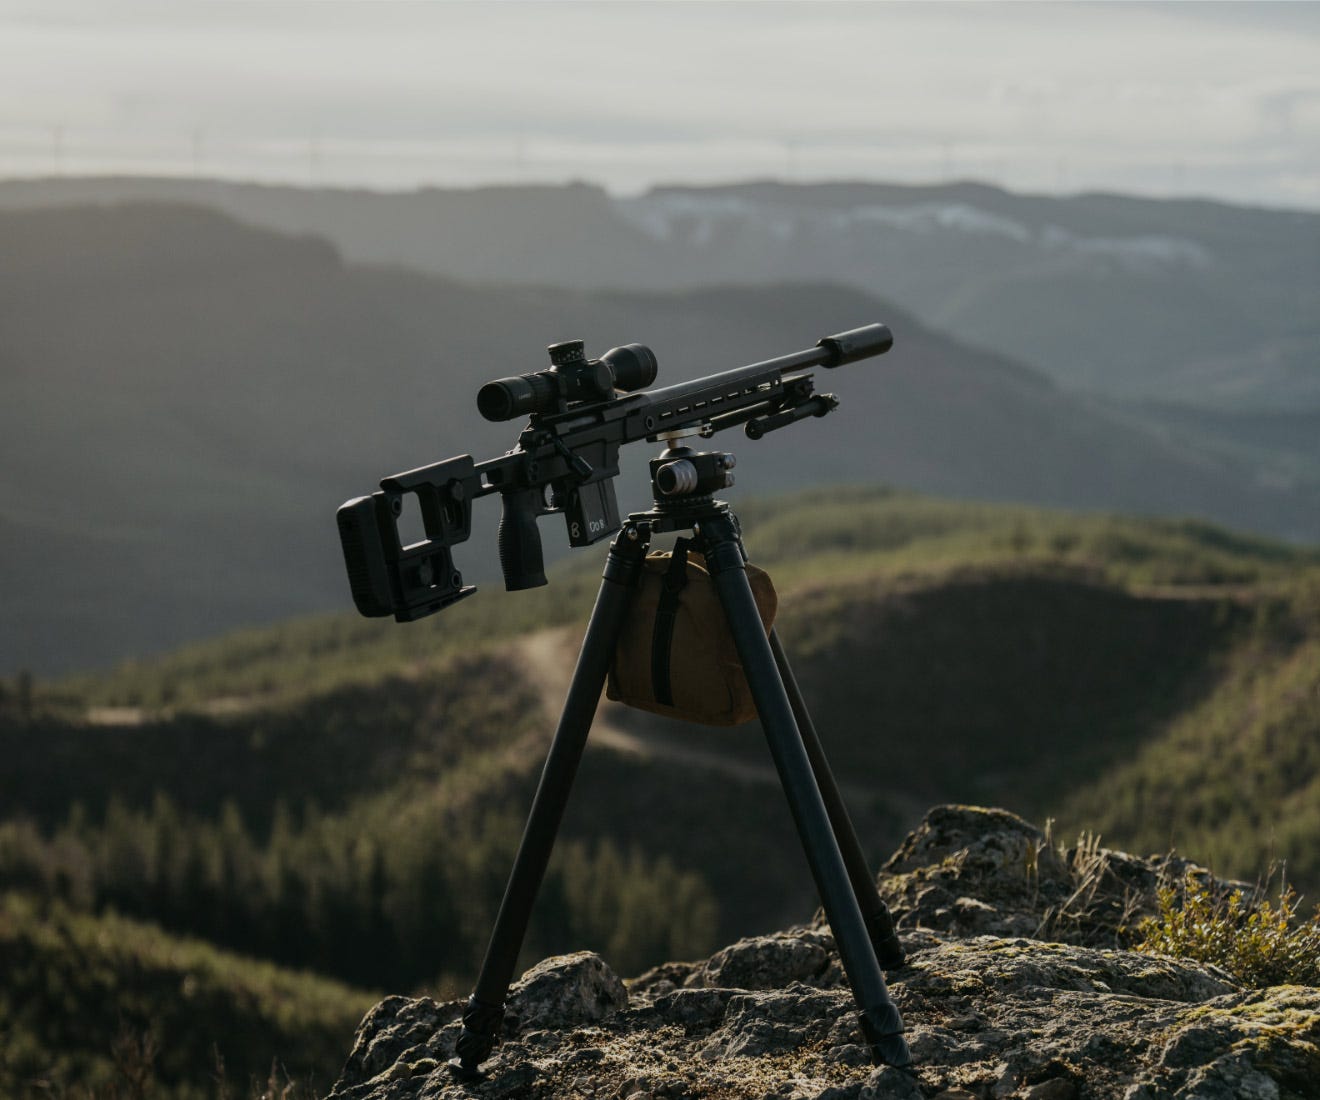
SOLUS
SHORT ACTION TECH SPECS
SPECIFICATIONS
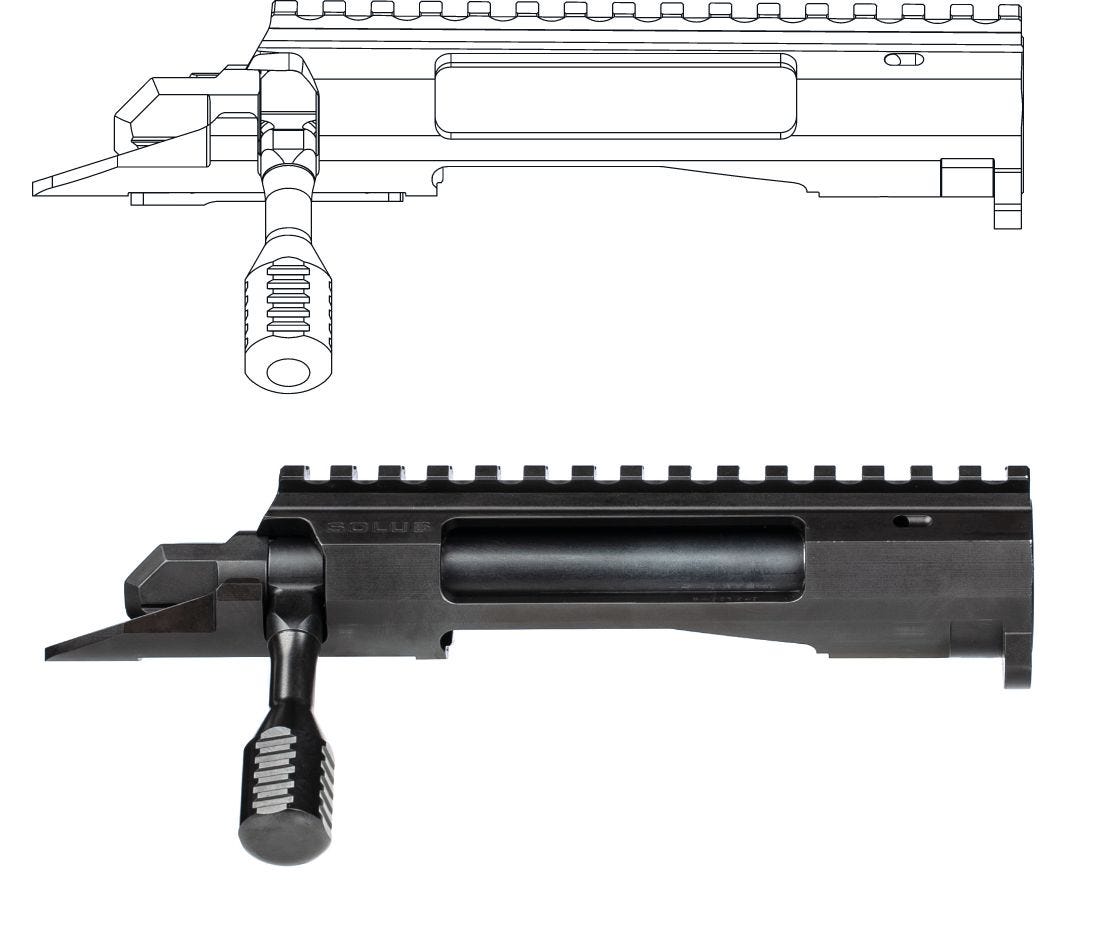
KEY ATTRIBUTES
- Action body material: 416 stainless steel
- Finish: Black Nitride
- Scope Rail: Integral 1913 rail with 20 MOA Bias
- Max Cartridge OAL: 3.0"
- Bolt face size: .473, .540
FEATURES
- 60-degree bolt throw
- Integral 20 MOA bias scope base
- Integral recoil lug
- Interchangeable bolt head
- 100% CMM Inspected

BOLT DISASSEMBLY
The Solus bolt assembly can be readily disassembled without tools for cleaning and maintenance.
- With the bolt assembly removed from the action, grasp the Bolt Body with one hand and the Firing Pin Shroud with the other.
- Twist the Shroud approximately a ¼ turn clockwise. The Firing Pin assembly will snap free when the retention lugs enter their recesses.
- Once free, the Firing Pin Assembly can be removed from the bolt body.
- With the Firing Pin Assembly removed, the Bolt Head Retaining Pin can be taken out. Slight resistance may be encountered when removing the pin. Applying light pressure to drive the bolt head into the bolt body will allow the retaining pin to drop free.
- The bolt head can now be removed from the bolt body.

bolt assembly
To reassemble the Bolt Assembly, follow the disassembly process in reverse order.
- When installing the Bolt Head into the Bolt Body, the Safety Lug needs to be aligned and seated within the mating/clearance pocket on the Bolt Body.
- When installing the Bolt Head Retaining Pin, ensure the through hole is in line parallel with the bolt body. This can be confirmed by the groove in the retaining pin head being perpendicular to the bolt.

installing firing pin
- Align the retention lugs to the appropriately sized recesses (Lugs are two sizes).
- Once aligned, push the Firing Pin Assembly into the rear of the Bolt Body. An increased amount of force is required to get the Firing Pin Assembly to fully seat.
- Once seated/compressed, rotate the shroud approximately ¼ turn counterclockwise until the detent is engaged.
*Note – Do not over rotate the Firing Pin Assembly in to the “cocked” position. This will prevent you from being able to install the bolt back into the action. You must position the Firing Pin Assembly in to the “neutral” position (see following images).

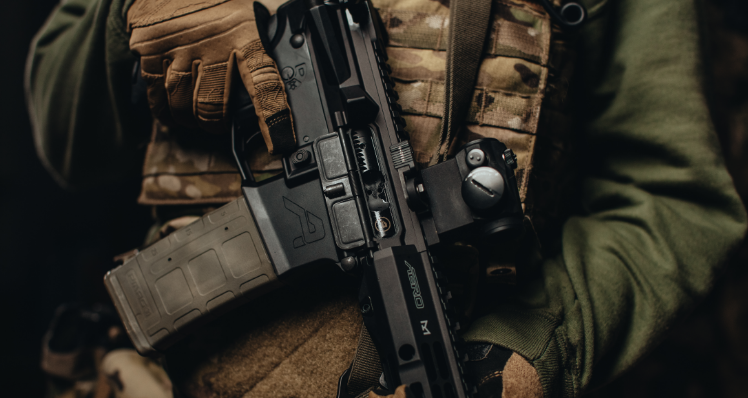
SOLUS
PRODUCT OVERVIEW
SOLUS
GENERAL QUESTIONS
Our rifles are guaranteed to be Sub MOA from the factory.
The pull weight of the trigger varies between configurations and can be anywhere from 1.5lbs to 3lbs.
This varies on configuration can weigh between 6.5-12 lbs.
There are many opinions on this subject but the easiest place to start is intention, competitions require different equipment than hunting.
You will need to raise the comb up to remove the bolt. Make sure you remember or mark the adjustment height before moving it. Press the Bolt release on the left side of the receiver and pull the bolt out.
Align your caliber selection with the intended use of the rifle.
A minute of angle is a measurement used to determine the group size of a given shot. An MOA is 1/60th of a degree and measures 1.047" at 100 yards this measurement gets rounded to 1" for manual calculation and is known as "Shooter minute of angle".
Depending on the configuration, you will need a combination of the following: action wrench, barrel vise, barrel nut wrench, torque, and wrench.
A barrel vise is a clamping vise that utilizes bushings to provide anti rotation during installation.
Yes, all that is required is the proper bushing for the barrel.

LIFETIME MANUFACTURER WARRANTY
We provide a lifetime warranty against manufacturing defects and damage caused by the normal use of our products. Aero Precision LLC will repair or replace any products that is has manufactured, sold, or distributed. This warranty does not cover defects or damage that are not the result of “normal use,” as determined by Aero Precision LLC in its full discretion, including but are not limited to defects and damage resulting from modification of the product, neglect or abuse of the product, improper transportation of the product, improper maintenance of the product, use of defective or improper ammunition, failure to follow the instructions in the product manual, use of the product with incompatible components, and criminal activity. To make a warranty or repair inquiry, contact Aero Precision’s customer service team by visiting aeroprecisionusa.com/contact and submitting a form. DO NOT send or ship products to Aero Precision for repair or replacement without first receiving authorization from Aero Precision’s customer service team. Failure to follow these instructions may void this warranty at Aero Precision’s discretion.
THIS WARRANTY IS EXCLUSIVE AND IN LIEU OF ANY AND ALL OTHER WARRANTIES, CONDITIONS AND REPRESENTATIONS, WHETHER WRITTEN, ORAL, EXPRESS OR IMPLIED, INCLUDING WITHOUT LIMITATION ANY IMPLIED CONDITION, REPRESENTATION OR WARRANTY OF MERCHANTABILITY OR FITNESS FOR A PARTICULAR PURPOSE. THIS WARRANTY SHALL CONSTITUTE THE SOLE REMEDY OF THE PURCHASER OR USER OF THE PRODUCT, AND AERO PRECISION LLC SHALL NOT BE LIABLE FOR AN ALLEGEDLY DEFECTIVE OR DAMAGED PRODUCT EXCEPT TO REPAIR OR REPLACE IT IN ACCORDANCE WITH THIS WARRANTY. IN NO EVENT, TO THE EXTENT PERMITTED BY LAW, SHALL AERO PRECISION LLC BE LIABLE FOR CONSEQUENTIAL, CONTINGENT, INCIDENTAL, INDIRECT OR SPECIAL DAMAGES CAUSED OR ALLEGED TO BE CAUSED IN WHOLE OR IN PART BY THE NEGLIGENCE, TORT, STRICT LIABILITY, BREACH OF CONTRACT, BREACH OF WARRANTY, OR BREACH OF DUTY OF OR BY AERO PRECISION LLC.
DISCLAIMERS
When using a firearm, always adhere to the 4 rules of firearms safety:
- Treat every firearm as if it is loaded.
- Always keep your firearm pointed in a safe direction.
- Keep your finger off the trigger until you have acquired a proper sight picture and are ready to fire.
- Be aware of your target and what is behind it.